Doctor Who Snowflakes by Lu of OddlyCrafting
In response to a request on DoctorWhoCrafts, Lu of OddlyCrafting demonstrates how to use her interchangeable Doctor Who Snowflake templates. Just pick any two to create your own pattern.
And, if you like these, check out the many other Paper Snowflake Designs on her Tumblr. There is a huge variety to choose from, most of them Doctor Who-themed.
And, if you like these, check out the many other Paper Snowflake Designs on her Tumblr. There is a huge variety to choose from, most of them Doctor Who-themed.
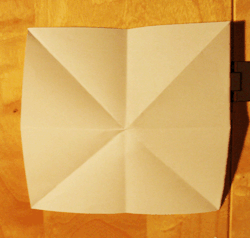


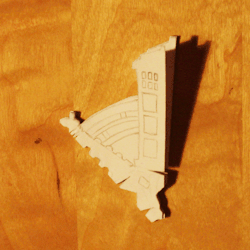
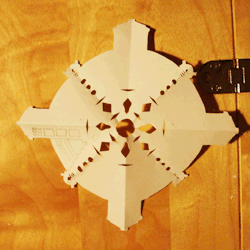


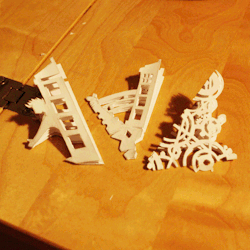
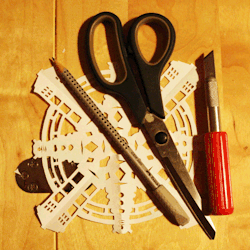
1. You’ll need some quadratic piece of paper; fold it three times until it looks like the second picture.2. Take care when you’re folding that the edges are as much in one line as possible, otherwise you will have irregular sides (I have one where the Doctor’s head is slimmed down to a tiny thing because I wasn’t careful).3. Draw whatever motif you want to have onto your paper. Everything that is on the edges will be mirrored - so here’s half a TARDIS and half a Dalek and a bit of random stuff at the bottom. When you open it up, it will be four complete Daleks and TARDISes. I made strong lines so they are visible, but it looks nicer if they are light (since erasing is a dangerous thing). A TARDIS is relatively easy to do, since it is nicely rectangular.4. I made some hopefully Gallifreyan-looking connections between Dalek and TARDIS so the finished flake will not only consist of eight piers that get torn easily - they give it stability, so it’s a good thing to have some. These easy parts are cut with a pair of normal kitchen scissors.5. This it what it looks like opened so far. But seriously, don’t do this, folding it back together can mess up your edges.6. All the parts I can’t cut out with the scissors I use a precision knife or scalpel. Nail scissors work as well, but you have to wedge it through all your layers, and it’s hard to do small details, so I prefer the precision knife. Obviously, small parts and round ones are harder to do, and edges are sometimes rebellious.7. Here we go! The finished flake!8. With a little experience you can do all sorts of things - the one on the left was my very first one; and the far right one is my most complicated one to date (and I messed it up in several places, but it’s still pretty).9. Once again, my tools: paper, pencil and eraser, scissors and precision knife.
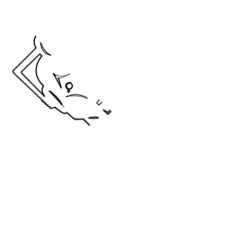
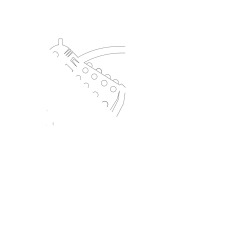
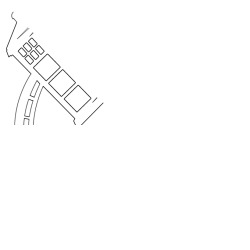
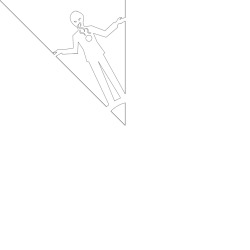
First pack of downloadable and printable Whoflake patterns. Together with 8 more in pdf format, or if you send me an ask you can get the files directly.
On special order and because I haven’t done any in ages. A few words
of advice: The Cyberman is smaller than the rest, because it is intended
for a smaller snowflake; the others will comfortably fit an A4 sheet.
You might have to fiddle a bit before you get it printed properly for
folding, but since that’s largely individual printing preferences I’ll
leave it up to you. Oh, and mind the Ood’s tentacles. Just see how well
you can cut before you accidentally slice their heads of. It makes for a
very unattractive death. I lined it because it’s the the one where
folding it properly is hardest, but the lines should all disappear with
cutting.

No comments:
Post a Comment